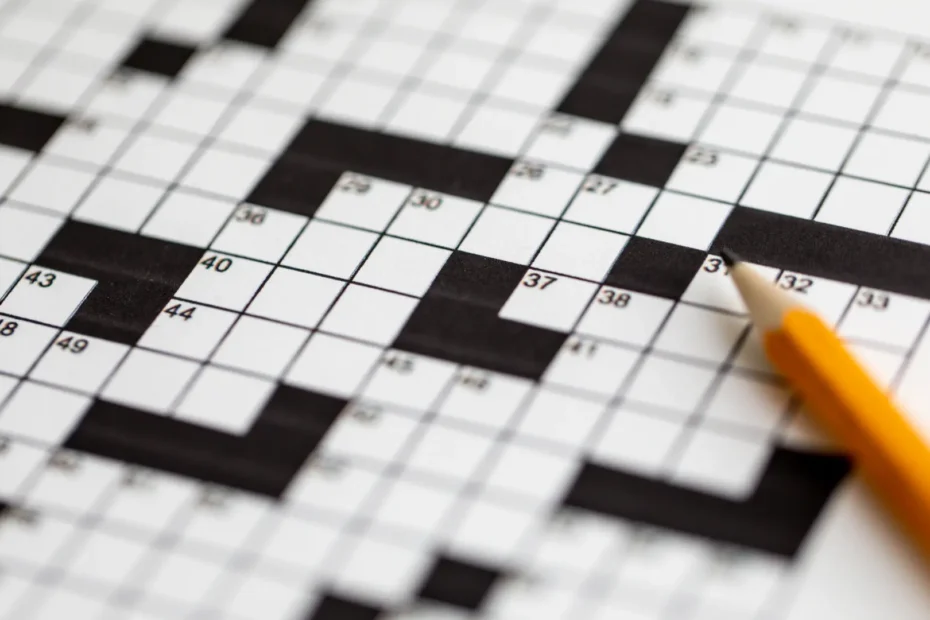
Crossword puzzles have long been a source of entertainment, brain stimulation, and even stress relief. While solving them is a satisfying challenge, creating your own crossword puzzle at home offers a new level of fun.
Not only do you get to sharpen your creativity and vocabulary, but you also design something that friends, family, or even students can enjoy.
If you’ve ever read about how crossword puzzles improve cognitive skills or the many ways they support focus and memory, you’ll understand why making your own puzzle can be just as rewarding as solving one.
Step 1: Choose a Theme
Every great crossword starts with an idea. A theme ties your puzzle together and gives solvers an extra layer of enjoyment. It doesn’t have to be complicated. Some popular options include:
- Seasonal themes such as winter holidays, summer activities, or spring flowers.
- Educational themes like historical events, science topics, or vocabulary practice.
- Pop culture themes involving movies, sports, or favorite books.
By deciding on a theme, you’ll guide your word choices and help ensure the crossword feels cohesive. For beginners, starting with a light and simple theme makes the process easier to manage.
Step 2: Build Your Word List
Once you have a theme, the next step is gathering words that fit within it. If your theme is “Summer Vacation,” words like “beach,” “sandcastle,” “flight,” or “passport” naturally come to mind. Aim to build a list of at least 20–30 words.
When choosing words:
- Vary the length so you have short and long entries.
- Include straightforward terms as well as slightly challenging ones.
- Avoid obscure or rarely used words unless you’re designing for expert solvers.
This list forms the backbone of your crossword puzzle. It also connects back to the impact of crosswords on mental health, since curating familiar yet engaging words adds a mindful, relaxing layer to the creative process.
Step 3: Decide on the Grid Size
Crosswords can range from small 10×10 grids to large 15×15 squares, depending on the level of detail you want. If you’re creating your first puzzle, a 10×10 grid works well. It allows you to experiment without feeling overwhelmed.
- Small grids (10×10): Quicker to design, perfect for kids or beginners.
- Medium grids (13×13): A good balance of difficulty and space.
- Large grids (15×15 and up): Traditional newspaper style, better suited for advanced puzzle makers.
Make sure the grid is symmetrical—most crossword solvers are used to a balanced design where patterns mirror across the center.
Step 4: Place the Longest Words First
A helpful trick is to place your longest words on the grid before filling in the smaller ones. These act as anchors and determine how the rest of the puzzle will fit together. For example, if “sandcastle” is one of your main words, position it across the middle. Then, look for opportunities to connect shorter words through intersecting letters.
Crossword puzzles thrive on interlocking words, so focus on maximizing overlap rather than isolating entries.
Step 5: Fill in the Remaining Words
After positioning your long entries, gradually work through your word list, fitting shorter words into available spaces. Keep in mind:
- Avoid leaving small, empty corners that are impossible to fill.
- Aim for every word to connect with at least one other entry.
- If you’re stuck, consider swapping out a word for a synonym that fits better.
This step requires patience, but it’s also the most rewarding. Watching the grid come together feels like solving a puzzle of your own making.
Step 6: Black Out Unused Squares
Once all words are placed, you’ll likely notice unused spaces. These squares can be filled with black boxes, which also shape the flow of the crossword. A well-balanced puzzle often has black boxes that create symmetry across the grid.
Be careful not to overuse black squares, as they reduce the challenge. A good rule of thumb is to keep about one-sixth of the grid filled with them.
Step 7: Write the Clues
Now comes the creative part—writing the clues. Your clues can be simple definitions, wordplays, or even cryptic hints. Depending on your audience, you can choose between straightforward or tricky styles.
Types of clues include:
- Direct definitions: “A frozen treat on a stick (3)” → ice.
- Fill-in-the-blank: “___ Vader from Star Wars (4)” → Darth.
- Wordplay: “Part of a shoe that sounds like ‘heel’ (4)” → heel.
To keep solvers engaged, mix up the types of clues you use.
Step 8: Number the Grid
Each word needs a starting point indicated by a number. Begin numbering from the top left, moving left to right and top to bottom. Assign numbers only to squares where a new across or down word begins. This numbering system ensures solvers can easily follow your puzzle.
Step 9: Test Your Puzzle
Before sharing, it’s important to test your crossword. Try solving it yourself to spot any errors, awkward overlaps, or unclear clues. Better yet, ask a friend or family member to attempt it. Their feedback will help refine the puzzle and ensure it’s both fun and solvable.
Step 10: Share and Enjoy
Once complete, you can print your crossword puzzle, save it digitally, or even use online platforms to publish it. Sharing it with friends, students, or puzzle enthusiasts adds a sense of accomplishment. You might even decide to create a regular series of themed puzzles.
Tips for Beginners
- Start small: a smaller grid means fewer words and less complexity.
- Use graph paper or free crossword maker tools online.
- Stay flexible with your word list; adjustments are part of the process.
- Pay attention to balance and symmetry—it makes your puzzle look professional.
- Practice often: like solving puzzles, creating them gets easier with repetition.

